Articulation
Customizing the articulation (improving) is not easy especially for amateur (even myself have not try to improve or modify any articulation for my gundam kit before). But recently I found some manufacturer similar to kotobukiya that provide MSG part is making some part for improving articulation so we don't need to make or re-make joints from resin to make the kit pose better. I will try to check it out what brand the take some image of it but if anyone of you have the information related to it, you may share it and put the link in the comment. Back to the articulation customization for this kit, I feel it is not a suitable customization for this gundam kit since there are so many bulk part (arms, legs, torso, etc..) unless you plan to trim the entire proportion of the kit but it can disastrous because the originality of the kit will be spoil.
Adding details
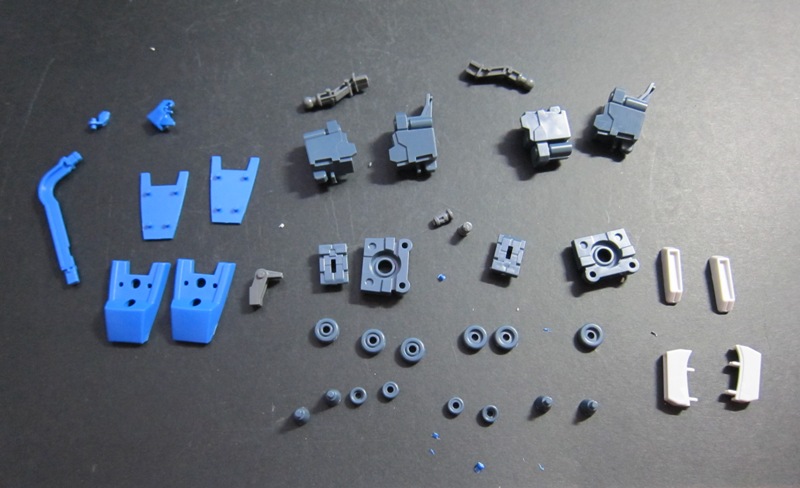
If you plan to add massive pla-plate, MSG part, massive drilling to expose the inner armor and scribe out lot of panel line, this will be the best kit for you to do something crazy without worry much about the weight and reduce the flexibility of the articulation (since this kit have not much). Plenty of large surface for you to add from the armors for you to add details. If you study from the pictures, potential area will on the chest, waist armors, legs armors, arms armors and back pack. Almost everywhere of the kit is a potential area for adding details but if you plan to add anything beneath the armors, I feel it will be quite pointless.
Color Scheme or Paint
It is depend on you that what color scheme you want, go for the traditional yellow, blue, red and white or something crazy with shiny glossy pearl style or extremely matte coat style to weathering. Even though this kit is huge and come with lot of part but one good thing is most of the part can be easily paint without disassemble it into individual parts which will crush lot of your crocodile sticks. Masking this gundam kit for painting will not difficult too. I paint the MG ZZ before, most of the parts are hard to disassemble especially the legs with its complicated structures but what I do is using masking method to apply different color onto the same area. This gundam kit will a lot more easier with its armor since most of the armors come with large flat surface.


One thing that some of you might not know is the huge beam saber from this FAZZ sentinel version will not be same as ZZ which it can't really use as the beam saber but it only use for decoration at the backpack or it is just a propeller fuel tank (Correct me if i'm wrong).


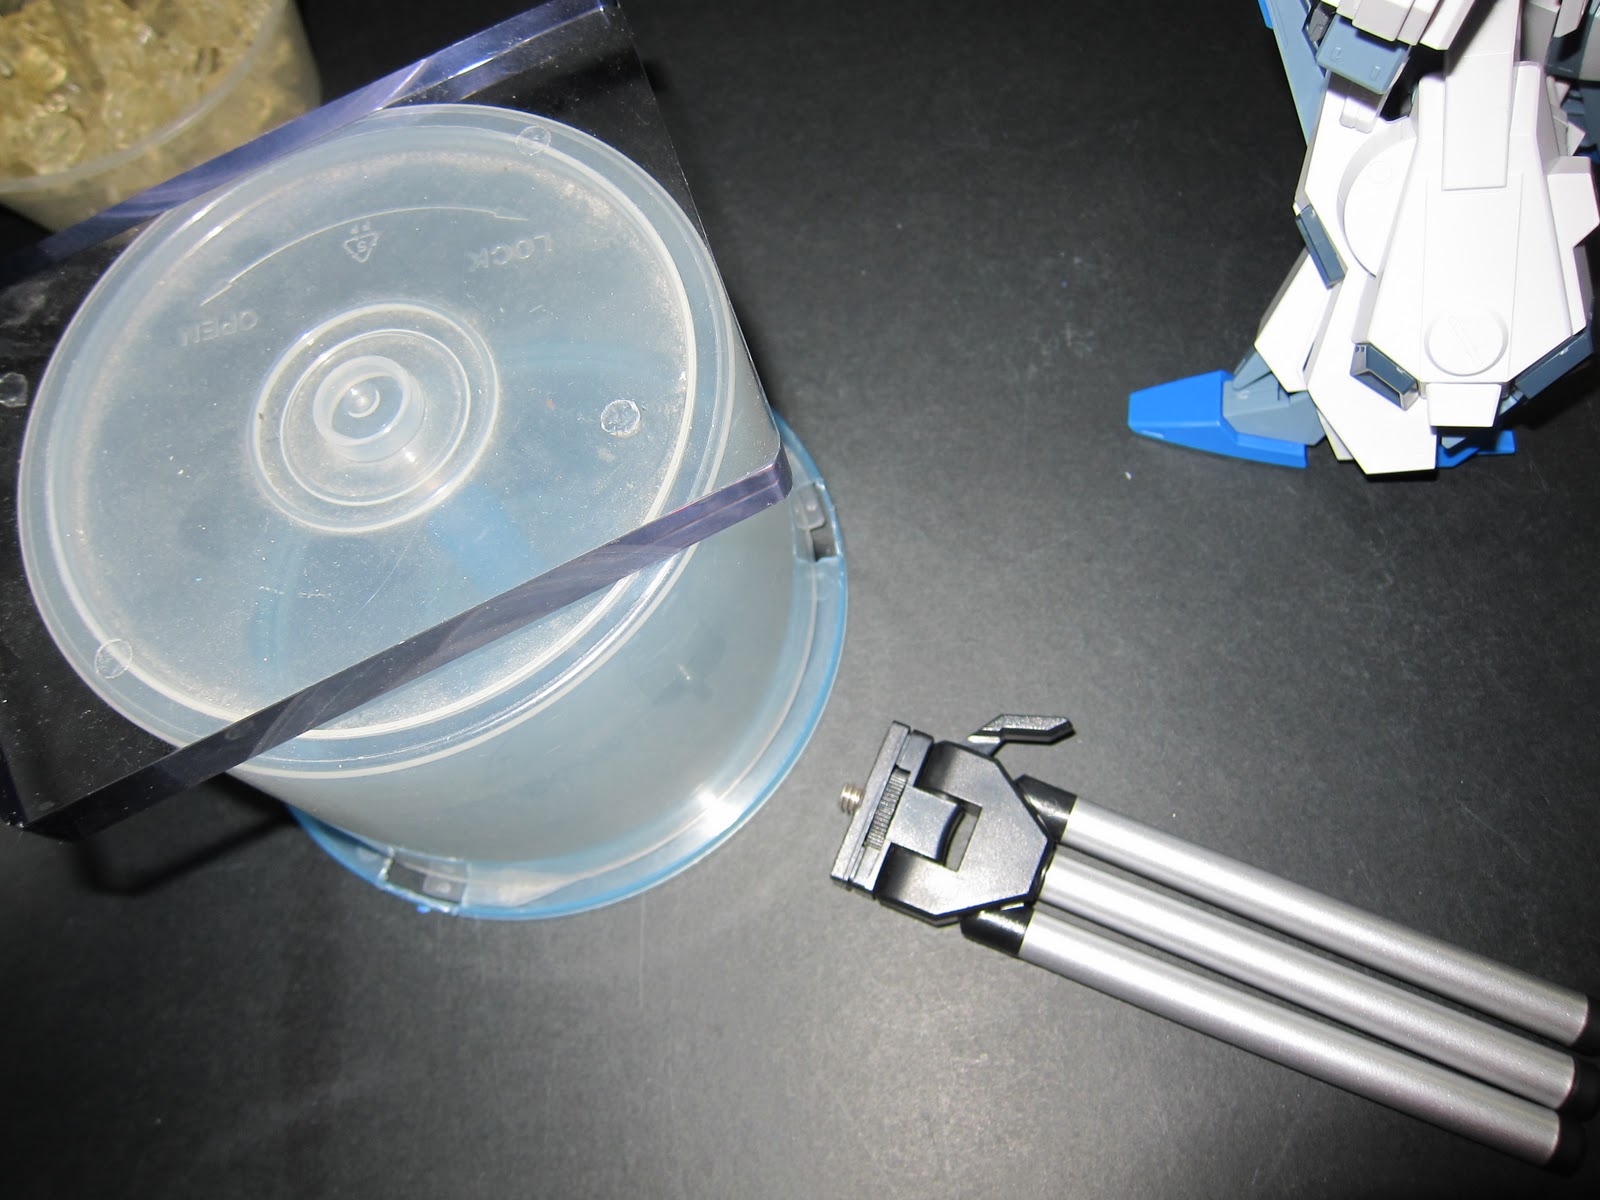
If you watch the video, there will be lot of funny thing such as my hands turning this "CD cover" display stand (LOL). These are the equipment that I use for the video ( camera? of course, if not, how to take this picture? LOL).
So, part of the review is complete but it doesn't mean that this is the end for my MG FAZZ Sentinel version. Part 3 of the review coming up which related on what i'm going to do with it (customization).
And the next gundam kit in review? RG Aile Strike and my electrical turn-able stand will arrive soon (no more manual hand turn stand in the next video hopefully, its too funny).
Oooo...
ReplyDeleteNice cannon!